Computer and IT Tools Onboarding
Prerequisites
Received You Access To M365
You should receive and access with you user and password form the M365 Administrator to your personal email Please review the junk folder if you cannot find the email.

Computer With Windows Pro
If you are receiving a computer from Arcsona. You should get a computer with windows pro. If not please communicate with your region responsible.
Access To A Phone
You need to have a mobile phone line to receive your code to set up your computer.
Set Up Your Computer (Windows)
-
Start the normal set up of windows.
-
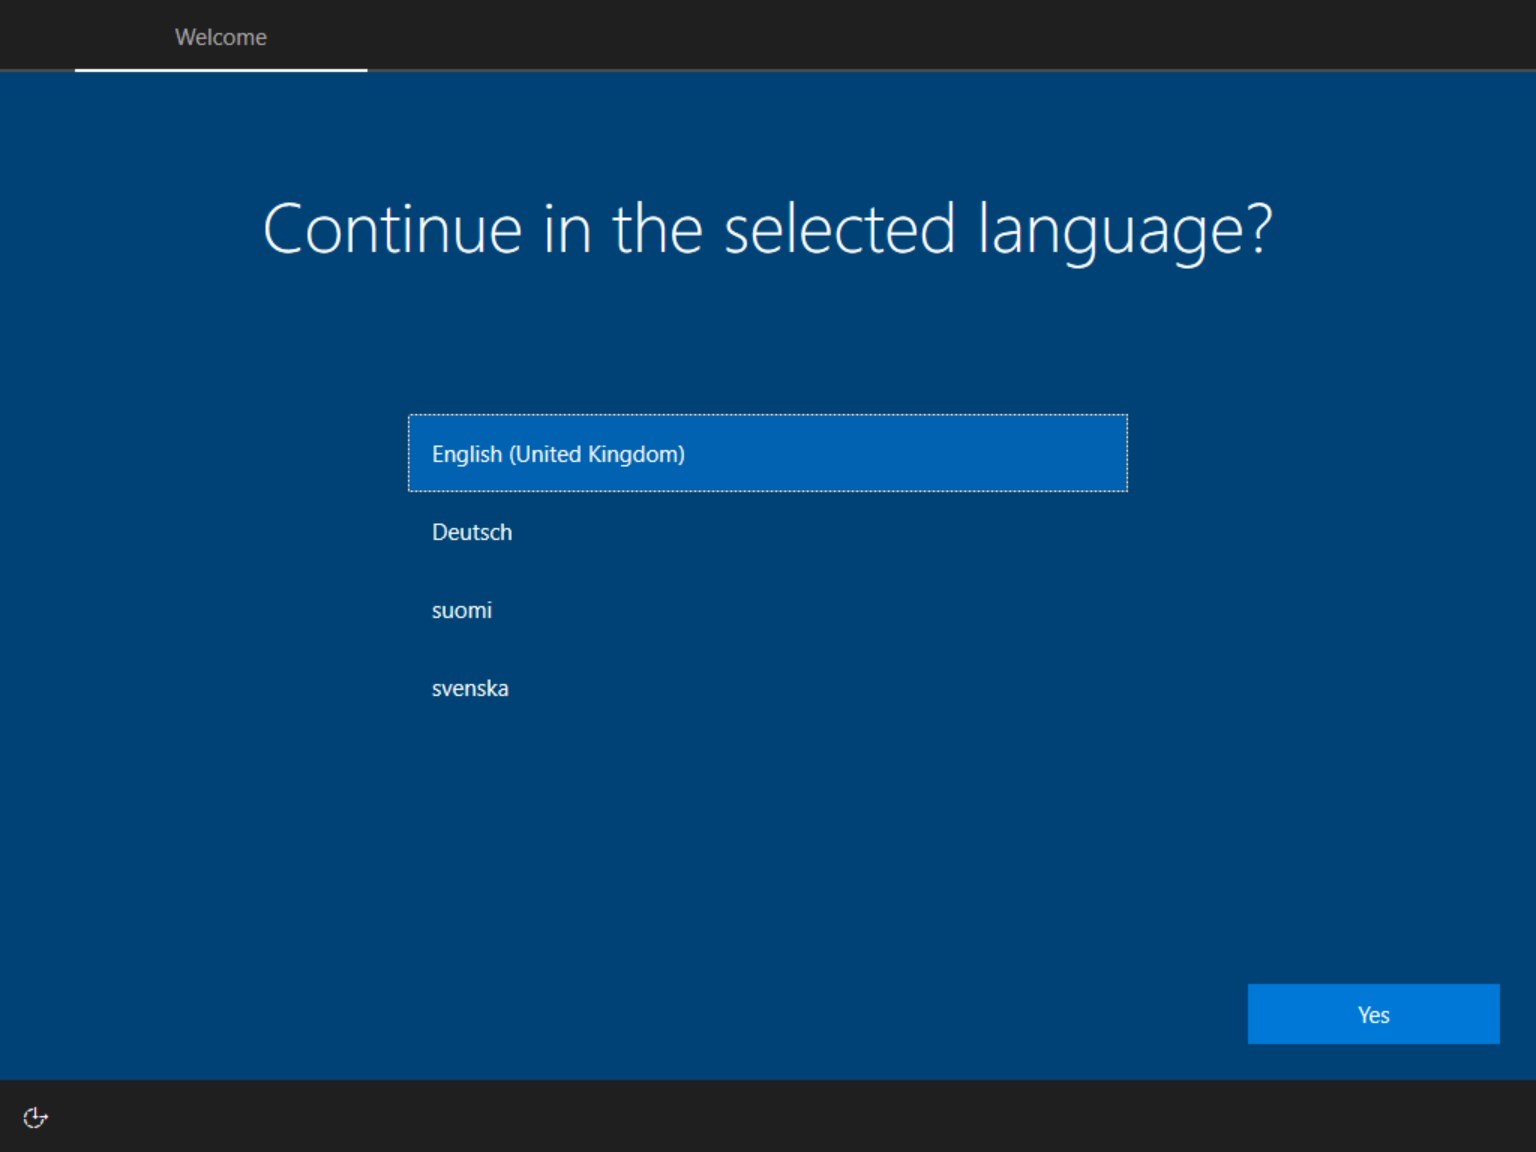
Select: English as your main language for your Windows even you select a different region for set up.
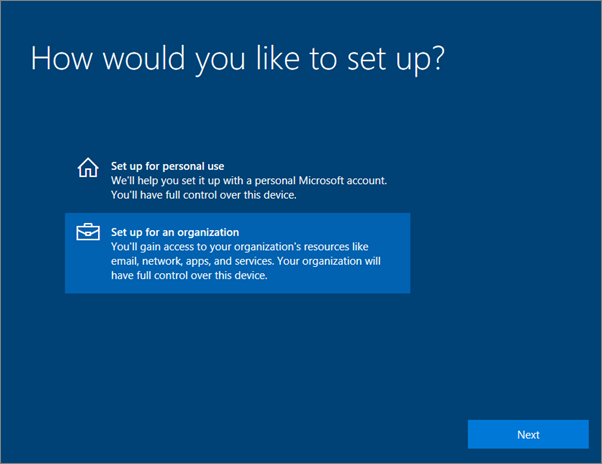
- Set up your computer for an organization so you can login with your M365 account.
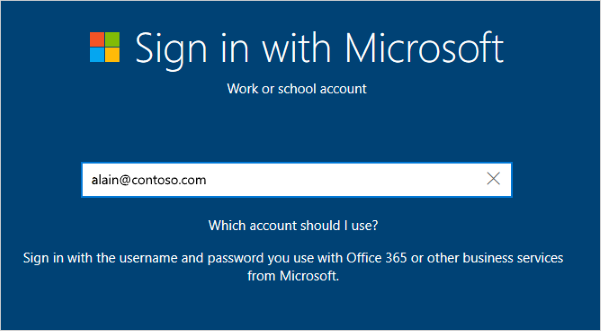
- You will be able to log with the password you receive in your M365 welcome email
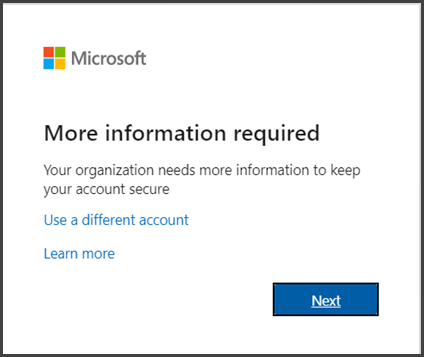
After setting up your login you will be prompted to set up your MFA.
Set Up Microsoft MFA (First Time)
By setting up MFA, you add an extra layer of security to your Microsoft 365 account sign-in. For example, you first enter your password and, when prompted, you also type a dynamically generated verification code provided by an authenticator app or sent to your phone.
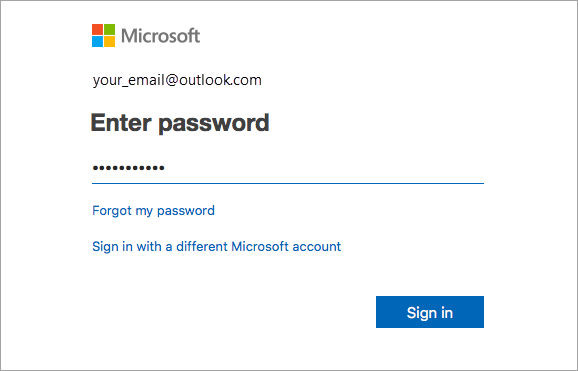
- Sign in to Microsoft 365 with your work or school account with your password like you normally do. After you choose Sign in, you’ll be prompted for more information.
-
The default authentication method is to use the free Microsoft Authenticator app. If you have it installed on your mobile device, select Next and follow the prompts to add this account. If you don’t have it installed there is a link provided to download it.
If you would rather use SMS messages sent to your phone instead, select I want to set up a different method. Microsoft 365 will ask for your mobile number, then send you an SMS message containing a 6-digit code to verify your device.
-
Once you complete the instructions to specify your additional verification method, the next time you sign in to Microsoft 365, you’ll be prompted to provide the additional verification information or action, such as typing the verification code provided by your authenticator app or sent to you by text message.
Note: Generally you’ll only need the additional verification method the first time you sign into a new app or device, or after you’ve changed your password. You probably won’t be asked for the additional verification code on a daily basis, unless your organization requires it.
Set Up Microsoft Authenticator App (Recommended)
Choose The Mobile Authenticator App As MFA
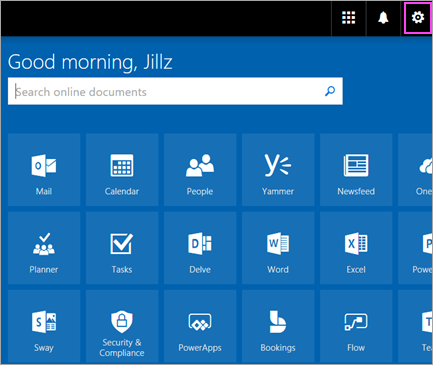
Open a browser on your computer and go to portal.office.com. Sign in to your Office 365 for business account.
Option 1: If you receive this login screen follow the next setps
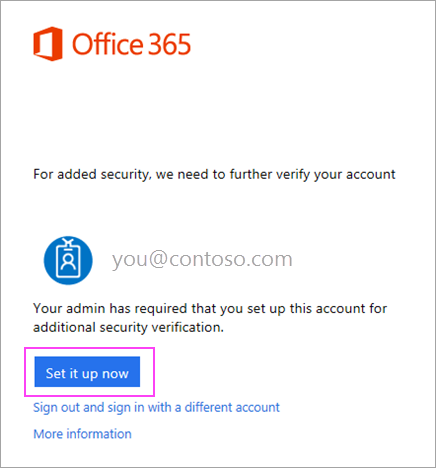
- Click Set it up now.
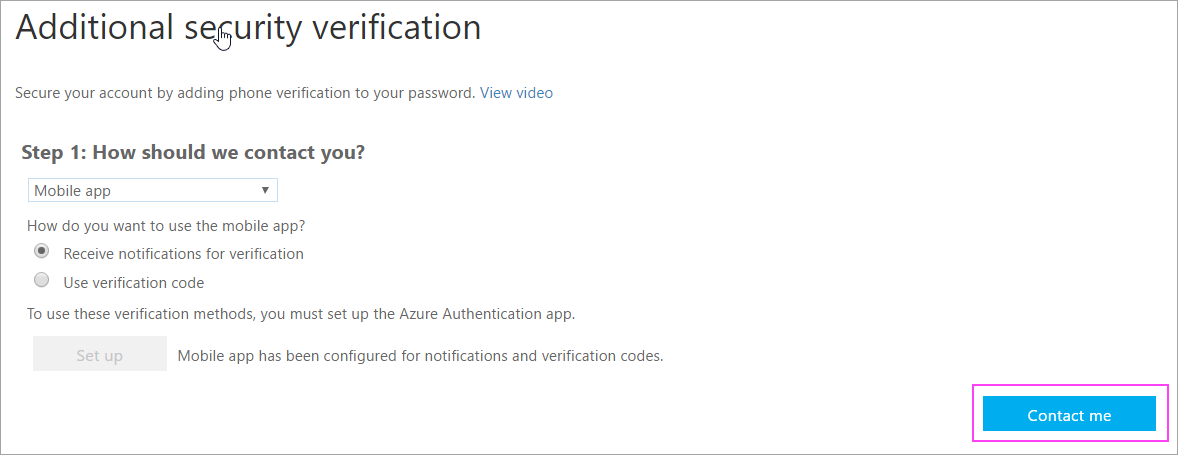
- Choose Mobile app from the dropdown.
- Make sure “Receive notifications for verifications” is selected. Click Set up.
Option 2: Use these steps if you see this screen:
- Click here.
- In the drop down box under What’s your preferred option, choose Notify me through app.
- Check the box for Authenticator app or Token, and then click Set up Authenticator app.
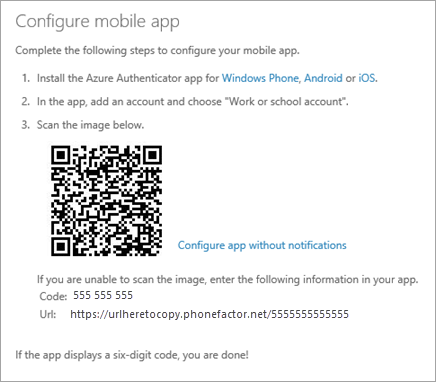
Wait For Configuration pop-up Box
You should see a window on your computer that looks like this.
Add Account To Microsoft Authenticator
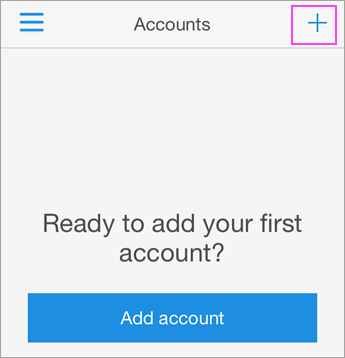
- Open the Microsoft Authenticator app on your phone.
- Tap the + > Work or school account.
-
Use your phone to scan the QR square that is on your computer screen.
Notes:
- iPhone users may have to enable the camera in Settings in order to scan.
- If you can’t use your phone camera, you’ll have to manually enter the 9 digit code and the URL.
-
Your account will be added automatically to the app and will display a six-digit code.
Confirm Activation Status On Your Computer
-
Switch back to your computer and click Done.
-
Now wait for the Checking activation status text to finish configuring your phone.
-
When it’s complete, you’ll be able to click the Contact me button on the right.
Note: If configuration fails, just delete retry the previous steps again.
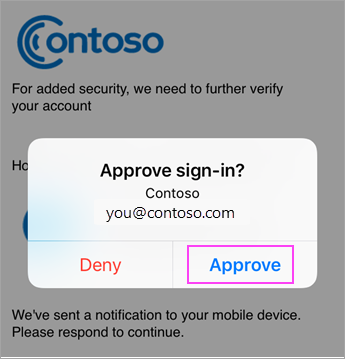
Approve Sign In On Your Phone
- Switch back to your phone and you’ll see a notification for a new sign in.
- Go to the Microsoft Authenticator app.
- Tap Approve to allow it.
Finish Set Up
- Back on the computer, follow any prompts that you might see such as adding a mobile number.
- You’re good to go!.
From now on, whenever you have a new sign in or add your Microsoft 365 work or school account to an app, you’ll open the Authenticator app on your phone and tap Approve.
Office
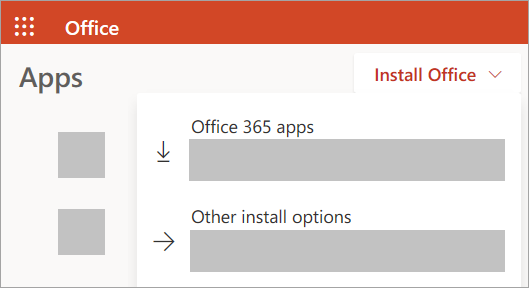
Download Office
- Go to office.com and if you’re not already signed in, select Sign in.
- Sign in with the account you Arcsona account
- From the home page select Install Office (If you set a different start page, go to aka.ms/office-install.)
The 64-bit version is installed by default unless Office detects you already have a 32-bit version of Office (or a stand-alone Office app such as Project or Visio) installed. In this case, the 32-bit version of Office will be installed instead.
To change from a 32-bit version to a 64-bit version or vice versa, you need to uninstall Office first (including any stand-alone Office apps you have such as Project of Visio). Once the uninstall is complete, sign in again to office.com and select Other install options, choose the language and version you want (64 or 32-bit), and then select Install.
- This completes the download of Office to your device. To complete the installation, follow the prompts in the “Install Office” section below.
Note: If you have a Mac please skip to the Install steps
Install Office (Windows)
-
Depending on your browser, select Run (in Microsoft Edge or Internet Explorer), Setup (in Chrome), or Save File (in Firefox).
If you see the User Account Control prompt that says, Do you want to allow this app to make changes to your device? select Yes.
The install begins.
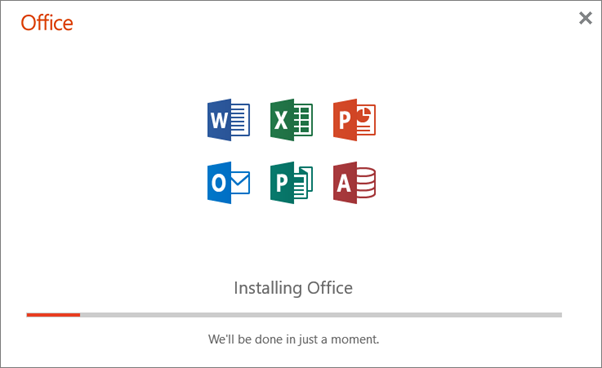
-
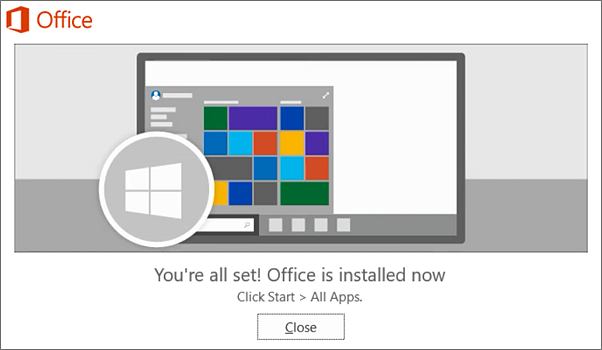
Your install is finished when you see the phrase, “You’re all set! Office is installed now” and an animation plays to show you where to find Office applications on your computer. Select Close.
Activate Office (Windows)
- To open an Office app, select the Start button (lower-left corner of your screen) and type the name of an Office app, like Word.
- To open the Office app, select its icon in the search results.
- When the Office app opens, accept the license agreement. Office is activated and ready to use.
Install Office (Mac)
-
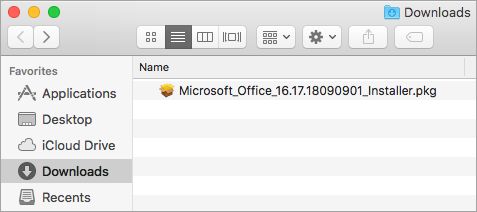
Once the download has completed, open Finder, go to Downloads, and double-click Microsoft Office installer.pkg file (the name might vary slightly).
Tip: If you see an error that says the Microsoft Office installer.pkg can’t be opened because it is from an unidentified developer, wait 10 seconds and move the downloaded file to your desktop. Hold Control + click the file to launch the installer.
-
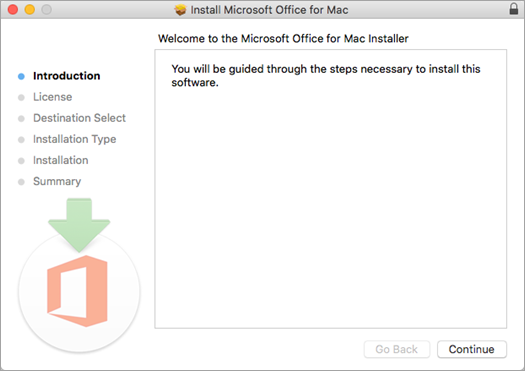
On the first installation screen, select Continue to begin the installation process.
-
Review the software license agreement, and then click Continue.
-
Select Agree to agree to the terms of the software license agreement.
-
Choose how you want to install Office and click Continue.
-
Review the disk space requirements or change your install location, and then click Install.
Note: If you want to only install specific Office apps and not the entire suite, click the Customize button and uncheck the programs you don’t want.
-
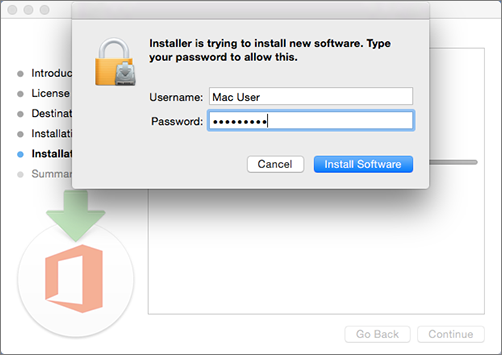
Enter your Mac login password, if prompted, and then click Install Software. (This is the password that you use to log in to your Mac.)
-
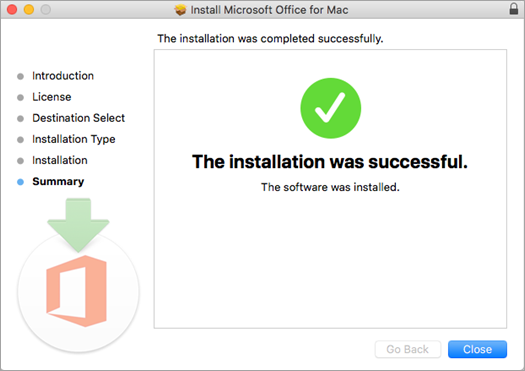
The software begins to install. Click Close when the installation is finished. If Office installation fails, see What to try if you can’t install or activate Office for Mac.
Launch An Office For Mac App Aan Start The Aactivation Process
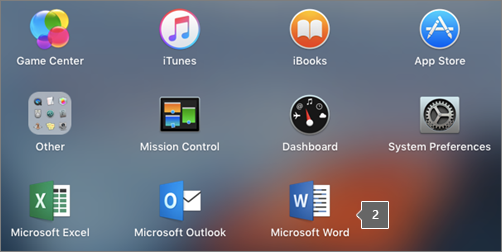
- Click the Launchpad icon in the Dock to display all of your apps.

- Click the Microsoft Word icon in the Launchpad.
- The What’s New window opens automatically when you launch Word. Click Get Started to start activating.

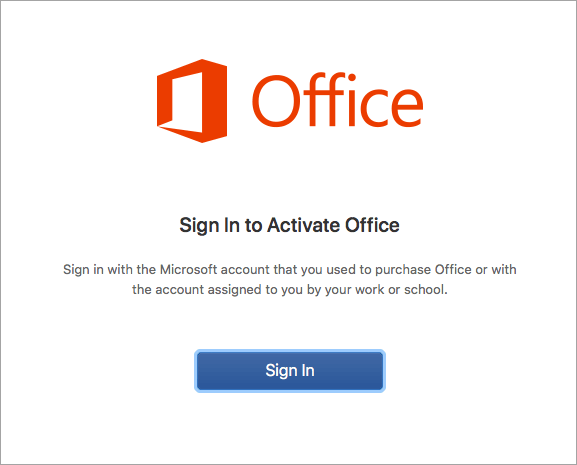
- On the Sign in to activate Office screen, select Sign in.
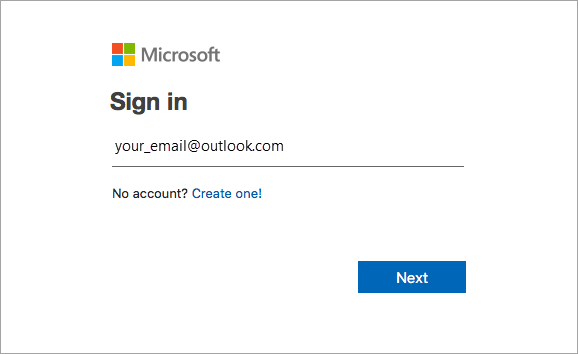
- Enter the email address associated with Office for Mac and click Next.
- Enter the password associated with the email address you entered, and click Sign in.
- The system checks if you have a valid license and then will activate the product.

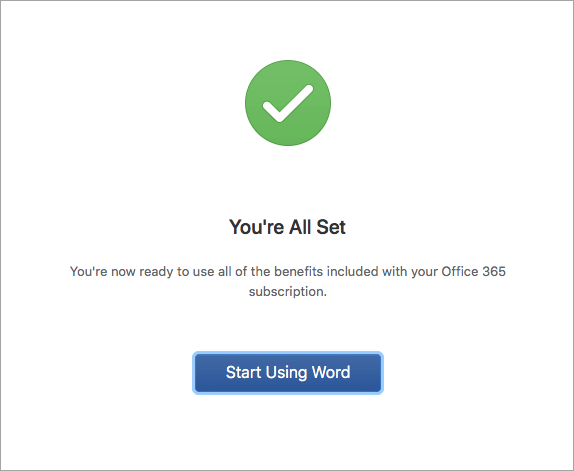
- You’re done! Click Start Using Word, to start using the app.
Installation Notes For Mac
Installation notes
How do I pin the Office app icons to the dock?
- Go to Finder > Applications and open the Office app you want.
- In the Dock, Control+click or right-click the app icon and choose Options > Keep in Dock.
Onedrive
Windows
Install And Configure The Sync App
- If your Windows device has either Office 2016 or Windows 10, it already has the OneDrive sync app.
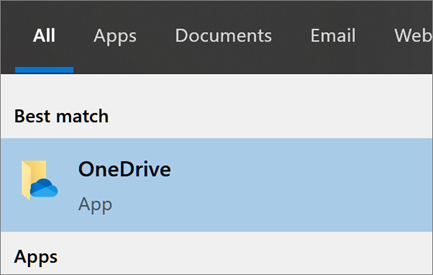
- Select the Start button, search for “OneDrive”, and then open it:
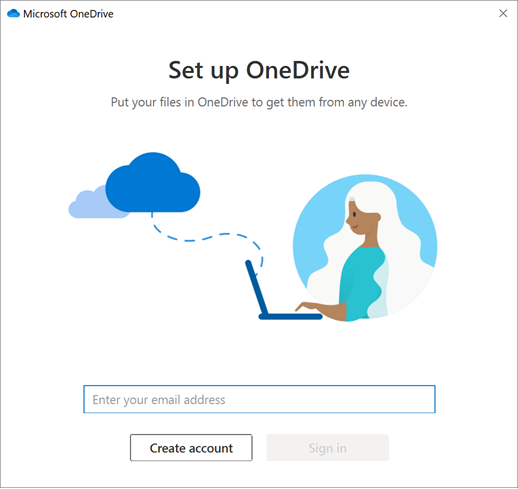
- When OneDrive Setup starts, enter your personal account, or your work or school account, and select Sign in.
There are two screens in OneDrive Setup that are helpful to watch for:
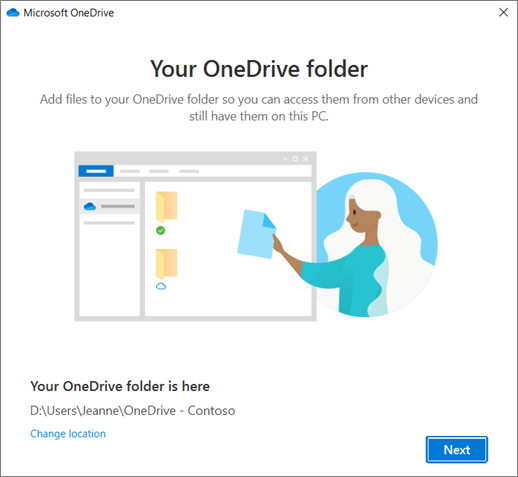
- On the This is your OneDrive folder screen, select Next to accept the default folder location for your OneDrive files. If you want to change the folder location, select Change location - this is the best time to make this change.
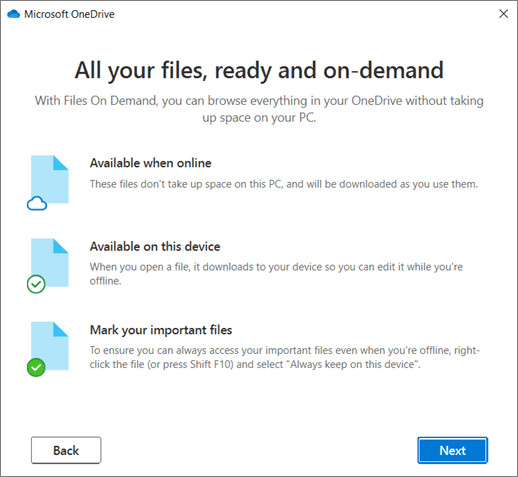
- On the All your files, ready and on-demand screen, you’ll see how files are marked to show them as online-only, locally available, or always available. Files On-Demand helps you access all your files in OneDrive without having to download all of them and use storage space on your Windows device. Select Next.
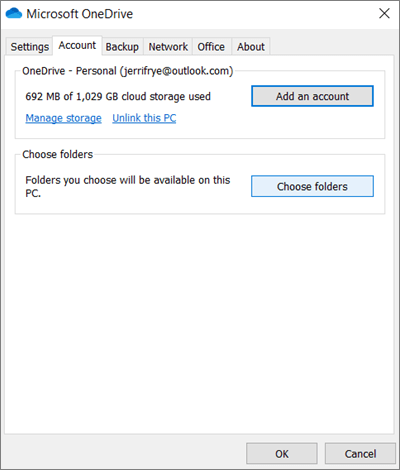
Note: If you were already syncing OneDrive for work or school to your computer (using the previous sync app) and you’ve just installed the sync app, you won’t see the This is your OneDrive folder or the Sync files from your OneDrive screen during OneDrive Setup. The sync app automatically takes over syncing in the same folder location you were using before. To choose which folders you’re syncing, right-click the blue cloud icon in the taskbar notification area, and select Settings > Account > Choose folders.
See And Manage Your Onedrive Files
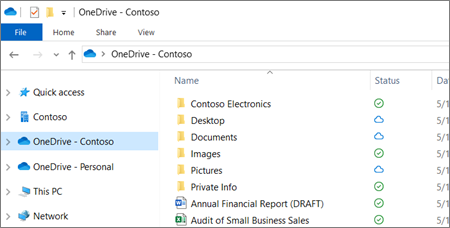
You’re all set. Your OneDrive files will appear in File Explorer in the OneDrive folder. If you use more than one account, your personal files appear under OneDrive – Personal and your work or school files appear under OneDrive - Arcsona.
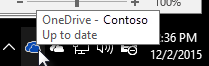
You now have a new white or blue cloud icon (or both) in your notification area and your files are synced to your computer. Your blue cloud icon will appear as OneDrive – [YourTenantName] when you hover over the icon.
Note: Contoso is an example name - yours will show the name of your organization.
Any time you want to change the folders you sync on your computer, right-click that cloud icon in the taskbar notification area, and select Settings > Account > Choose folders. Find other information about your account and change other OneDrive settings from here.
Mac
Install
- You can download One drive for Mac here: Click for download
Set Up
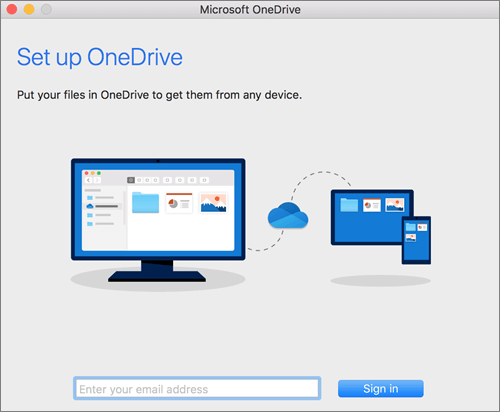
- Start OneDrive by pressing cmd+Space to launch a Spotlight query and type OneDrive. This starts OneDrive Setup.
- Enter your work or school account and then select Sign in to set up your account.
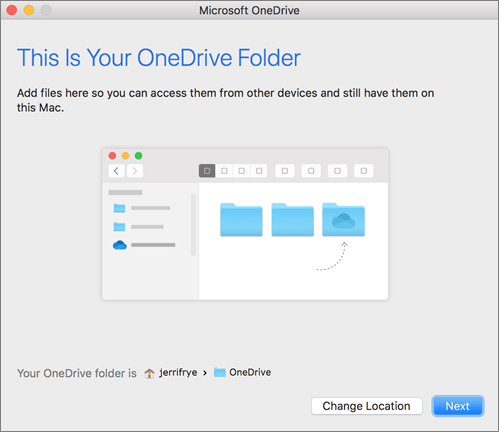
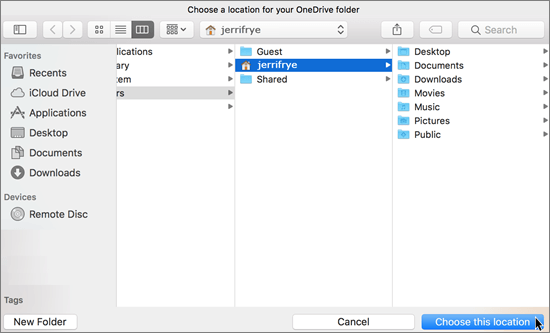
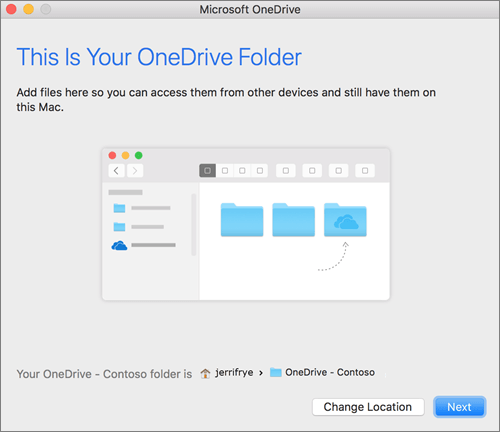
- When setting up your OneDrive, it has a default location set. However, you can change this during setup. On the This is your OneDrive folder screen, click Change Location.
- Select a location where you would like to save your OneDrive files and click Choose this location.
- When you see the This is your OneDrive folder screen, you’ll now see a path to the folder you selected. Click Next to continue.
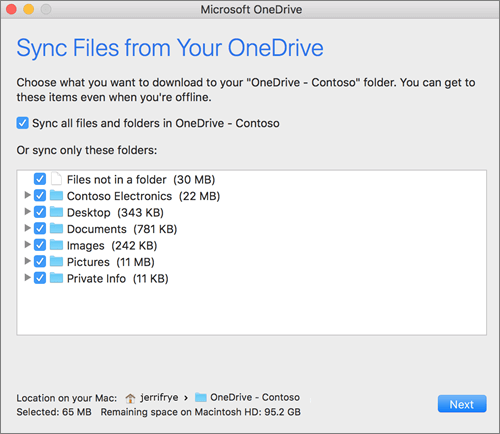
- On the Sync Files from Your OneDrive screen, you can choose the folders you want to sync to your computer, and click Next. This conserves space on your computer, and reduces bandwidth needed for the sync processes.
- You’re done! Click Open my OneDrive folder to see your files sync to your folder.
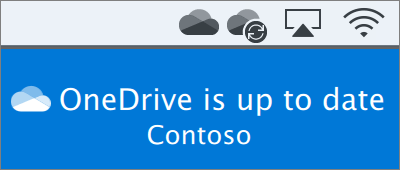
You can find OneDrive up in your Menu bar. You’ll have a cloud icon for every account you’ve connected to OneDrive. So you’ll have one cloud if you’re only syncing a work or school account, one cloud if you’re syncing only a personal account, or two clouds if you’re syncing both.
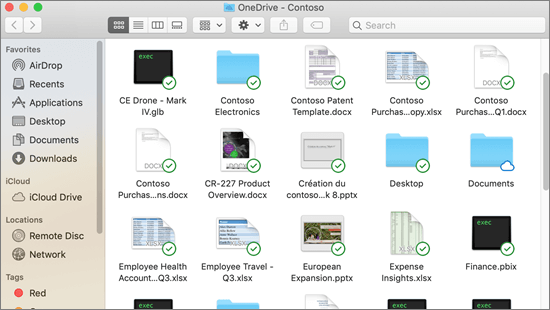
You’ll also see a folder in Finder called OneDrive – Arcsona.
Turn On Finder Integration
If you’re on OSX 10.10 or higher, get sync status directly from Finder by enabling Finder overlays in Settings.
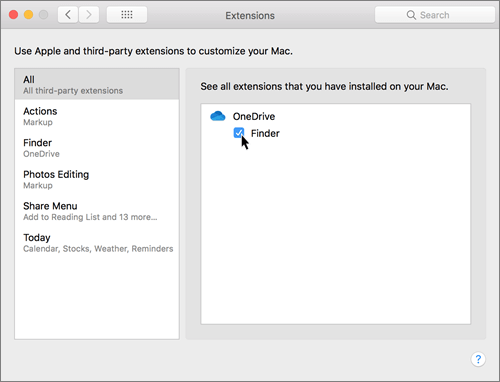
First, click the Apple logo in the top left corner of your Mac Desktop and select System Preferences, then select Extensions in the top-level menu (shown in the 3rd row from the top).
Toggle on the OneDrive Finder Integration to enable Finder overlays.
You’re all set. Open up your OneDrive folder in Finder to see overlays on your files and folders.
If you’re an admin and want to enable sync icon overlays on multiple computers, you can use this Terminal command:
/usr/bin/pluginkit -e use -i com.microsoft.OneDrive-mac.FinderSync
Outlook
If you account it is not Auto-add with your set up please follow the next instructions.
-
Choose File > Add Account, type your email address in the field provided, choose Connect, type your email password, and choose Sign in.
-
Leave the Allow my organization to manage my device check box selected, choose Yes, choose Done, and then choose OK in the Mail Delivery Location message.
-
On the confirmation page, you can add another account to Outlook, or select Done.
Your new Microsoft 365 emails will start to arrive in Outlook.
Apps Set Up
Ninite
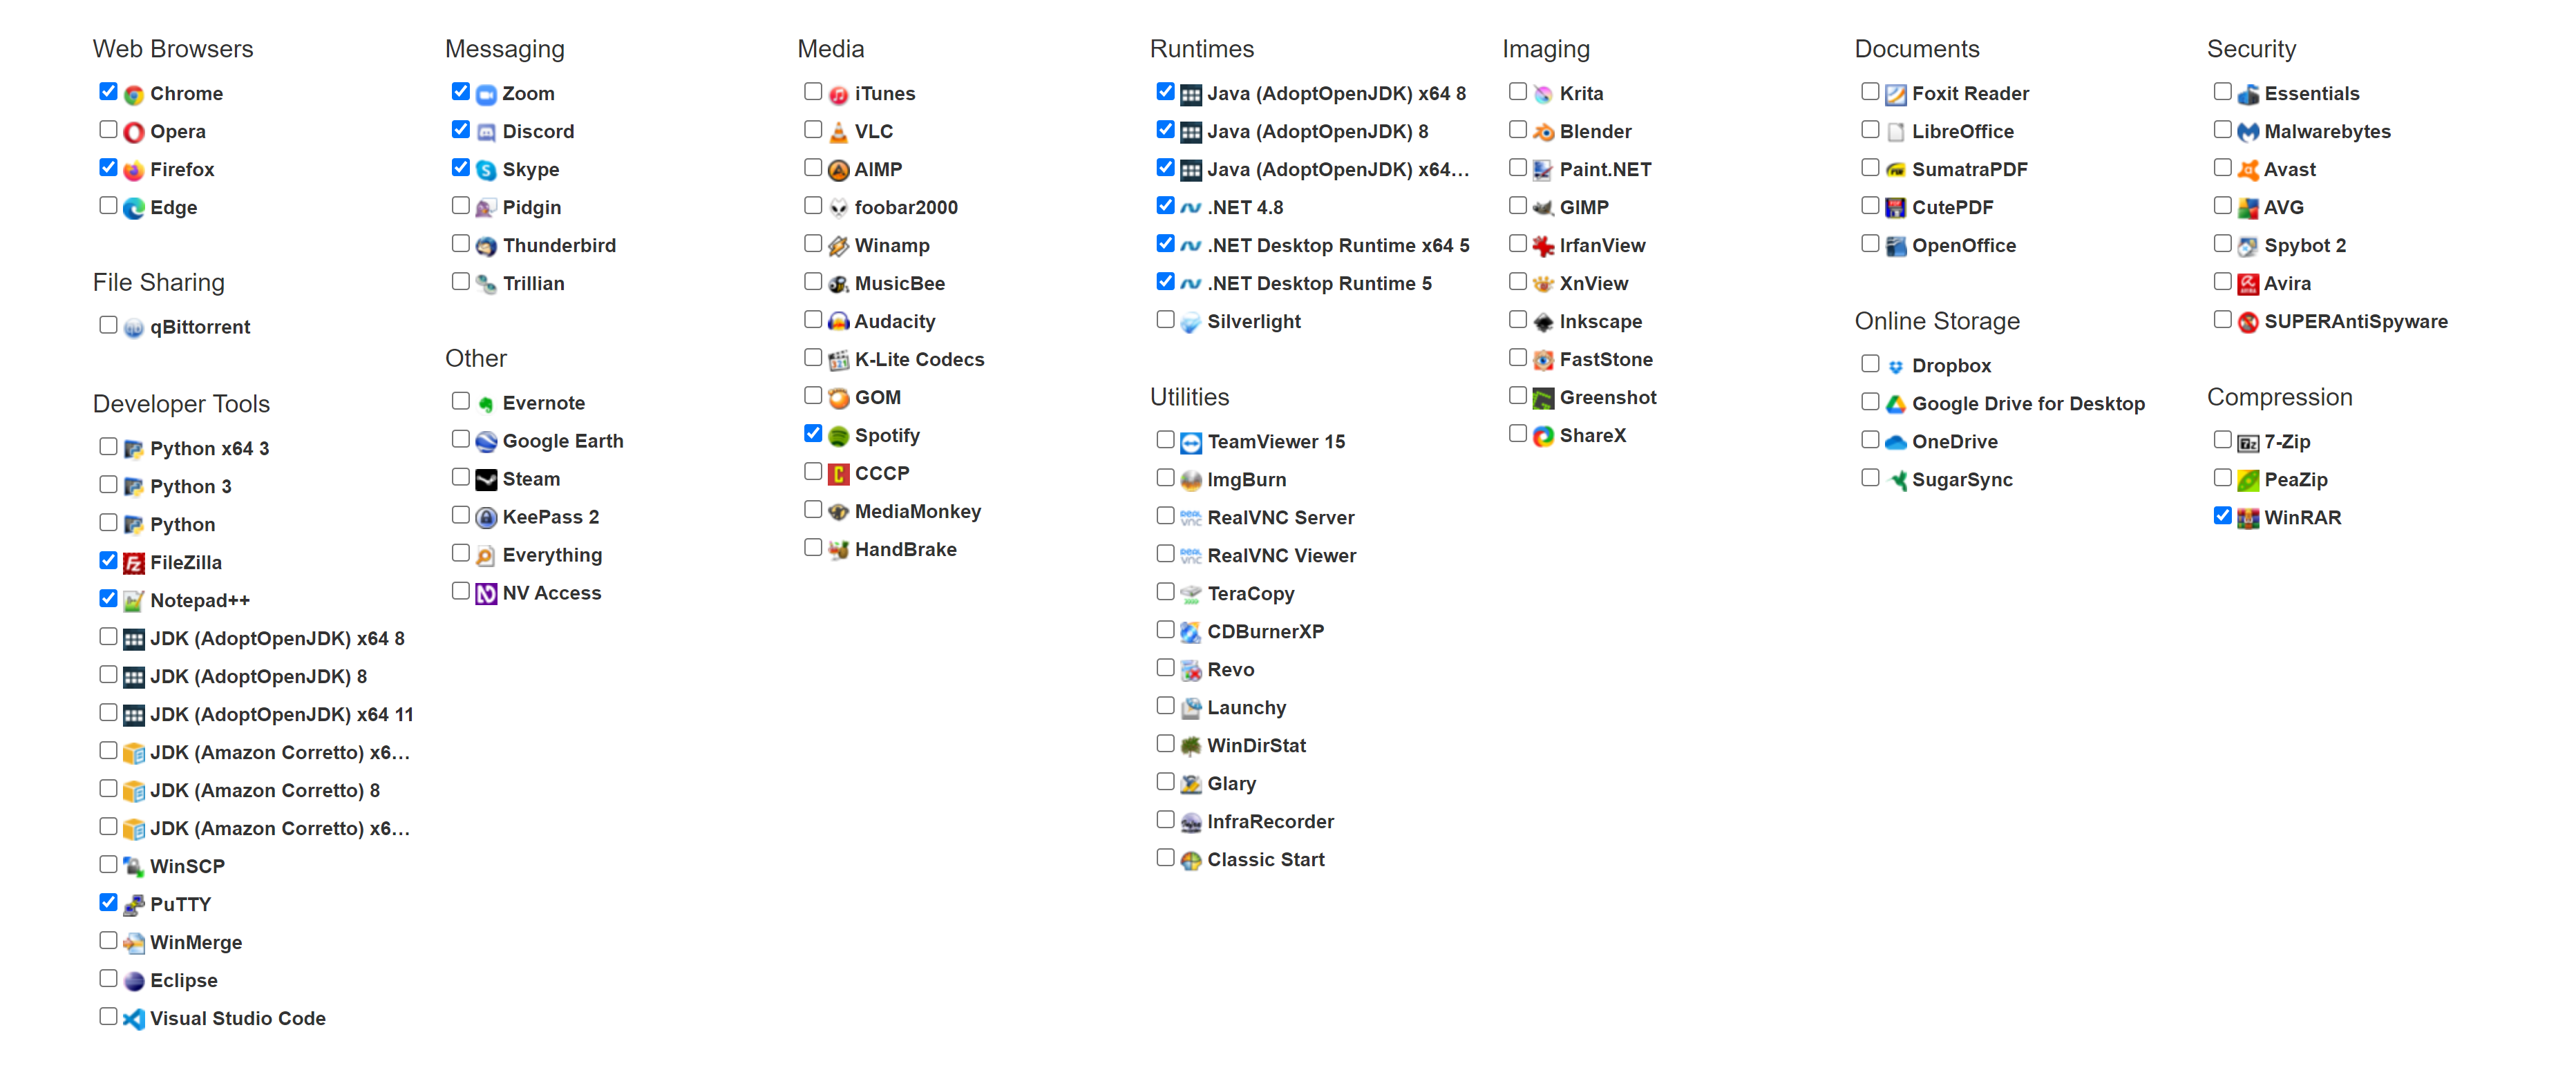
We recommend Ninite to set up a number of applications.
- Navigate to ninite.com.
- Select the apps you are looking for.
- Press Get your Ninite.
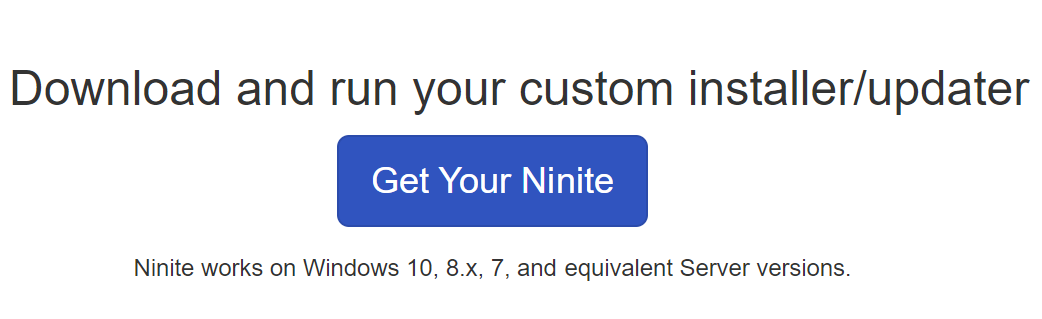
- You will get an exe file; execute it and you will get all your apps at once.